
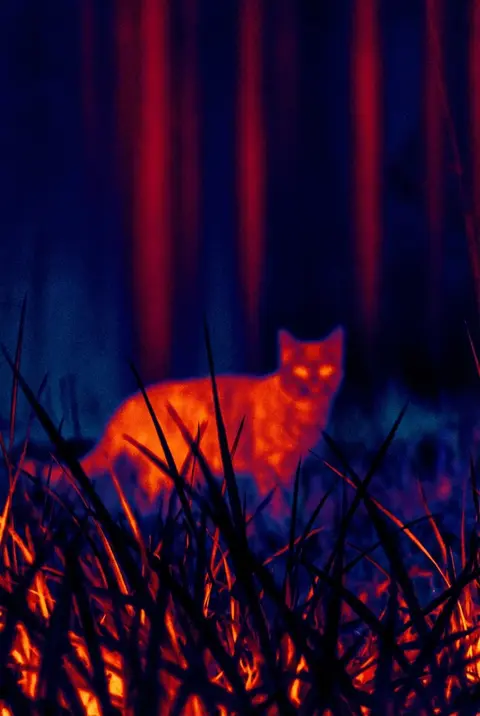
Compare four thermal palettes on your photo
Start with a scene that has layers
A clear subject, depth between foreground and background, and a mix of bright and dark areas give a filter more to work with. Night portraits, a pet under a street lamp, and trees against the sky usually translate better than a flat wall.
Four steps for a more convincing look
- Protect the subject: make the person, pet, or building outline clear before chasing color.
- Control highlights: bright lamps and reflections can overpower the warm palette, so lower exposure when needed.
- Start at medium intensity: maximum intensity can erase fur, leaves, and edge texture.
- Try several palettes: Ironbow feels classic, Arctic feels cool and technical, and Night Vision feels familiar and exploratory.
Which palette fits the scene
- Ironbow: strong warm subjects against a deep blue background.
- Rainbow: more dramatic color transitions for landscapes and groups.
- Arctic: a cool, quiet mood for forests and open spaces.
- Night Vision: a restrained green look for an exploration theme.
- Grayscale: shape, fog, and light without color distraction.
Why keep the original
A filter is a creative layer. Keeping the original lets you compare palettes and tell whether the effect is clarifying the subject or only adding saturation. Thermal Imaging Camera Filters can import an existing photo so you can create several versions from the same frame.
Frequently asked questions
Is a thermal filter real thermal imaging?
No. It remaps color and contrast in a visible-light photo; it does not read an object’s temperature.
Which palette looks most like a thermal camera?
Ironbow is the most recognizable classic thermal-map style, but the source image controls the final look.